Fixing a cane
Learn how to fix a broken mobility cane with simple household items. This step-by-step guide helps visually impaired individuals maintain their independence and mobility.
How to fix a cane
Sometimes a mobility cane snaps so what can you do? Using your ‘technologically advanced cane fixing kit’ (a paper clip and string) you can fix it!
Step 1
First, get the tip off!
- You might need a vice
- But try warm water or pliers first!
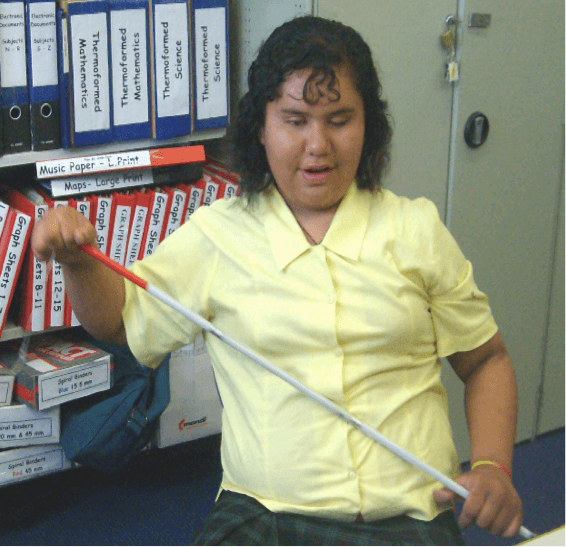
Figure 1 - Freedom with her WCIB cane that needs fixing
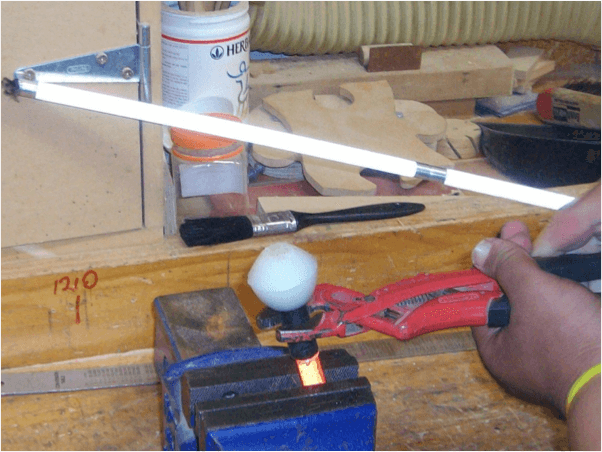
Figure 2 - Using a vice and pliers to get the tip off
Step 2
Then, pull the string end and the elastic out of the ‘tip’ end of the cane.
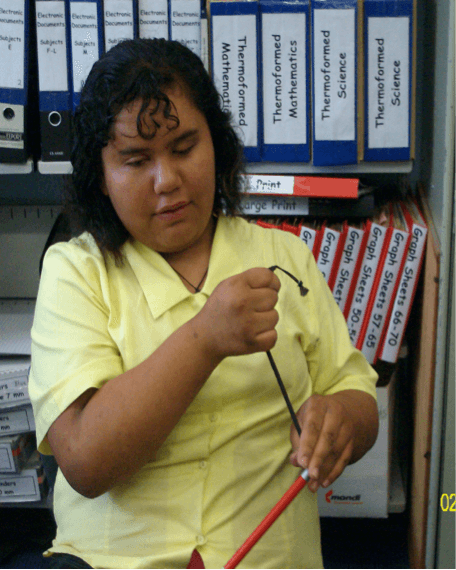
Figure 3 - Freedom is pulling the elastic out of the tip end of the cane
Step 3
Then, undo the strong at the end of the elastic.
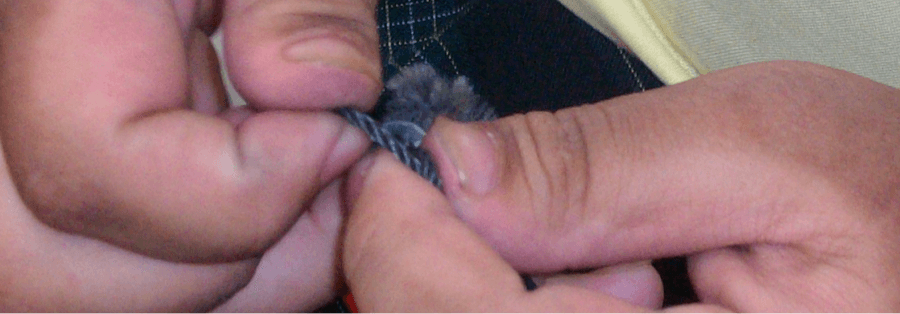
Figure 4 - Freedom is undoing the string that holds the elastic tight inside the cane
Step 4
If need be jam something into the elastic loop to stop it ‘pinging’ into the cane parts.
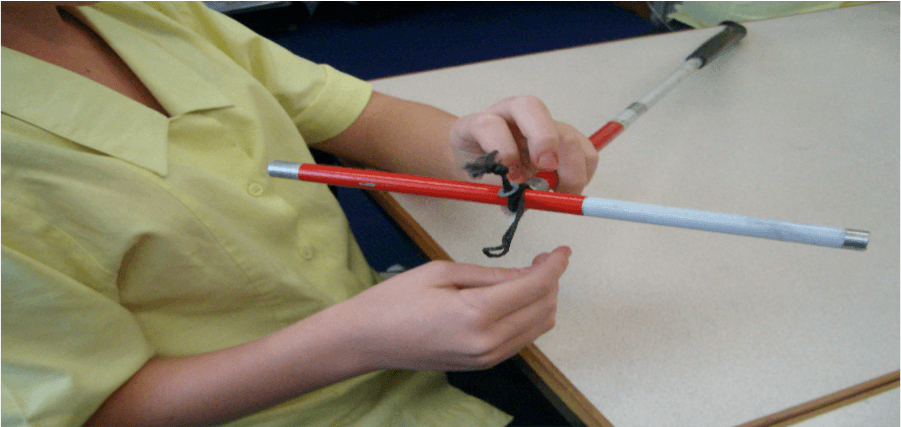
Figure 5 - Using an old piece of cane to loop through the elastic in the cane being fixed
Step 5
Then, knot your string to the elastic and tie the opposite end to the paperclip or weight.
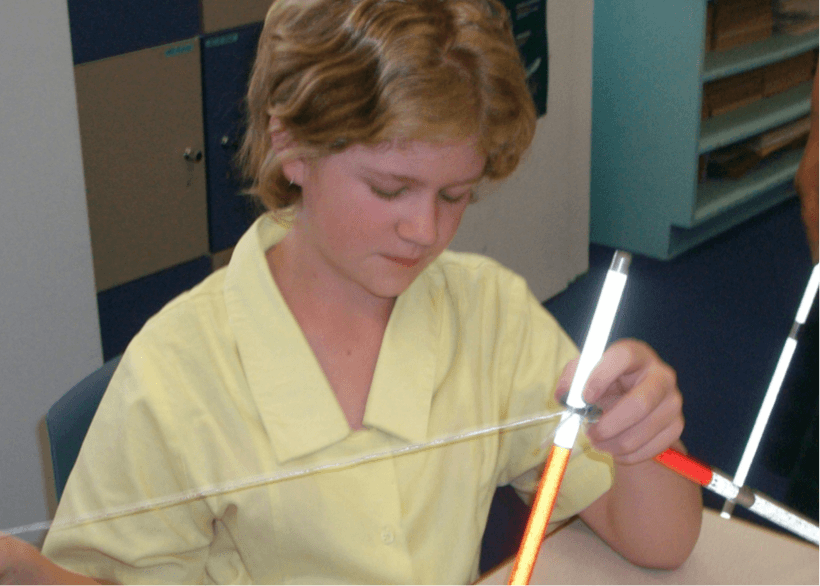
Figure 6 - Jesse is tying the string part of her 'cane fixing kit' to the end of the elastic
Step 6
Pull the cane to pieces until you have the handle, string, and a few bits!
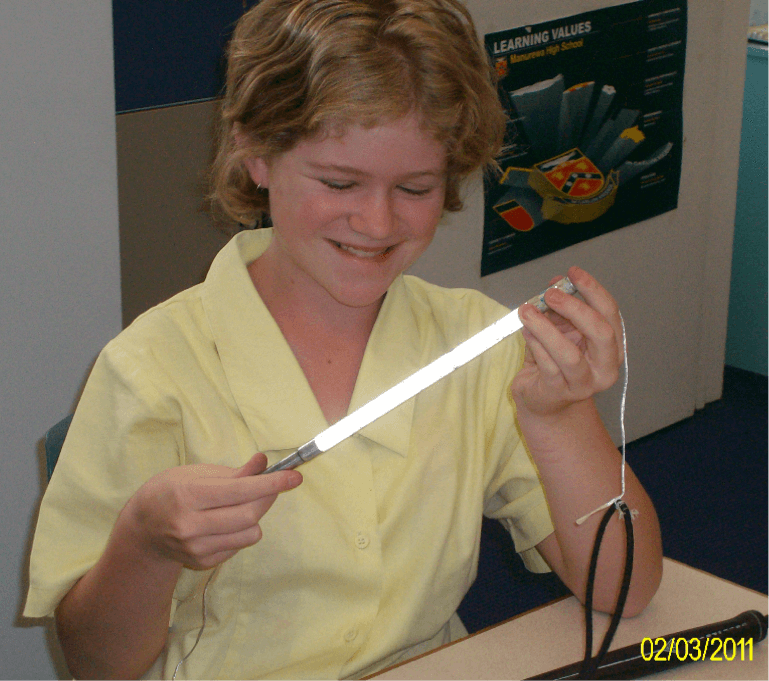
Figure 7 - Jesse lets go of the elastic
Step 7
Remove the broken bit and find a new piece to replace it. You might need to use pliers, or something sharp, to remove bits inside the cane parts.

Figure 8 - Freedom is chucking away the broken piece of cane
Step 8
Rethread your cane by threading the paper clip end of the string attached to the elastic through each part. Be careful to place the pieces the correct way to ‘fit together’.
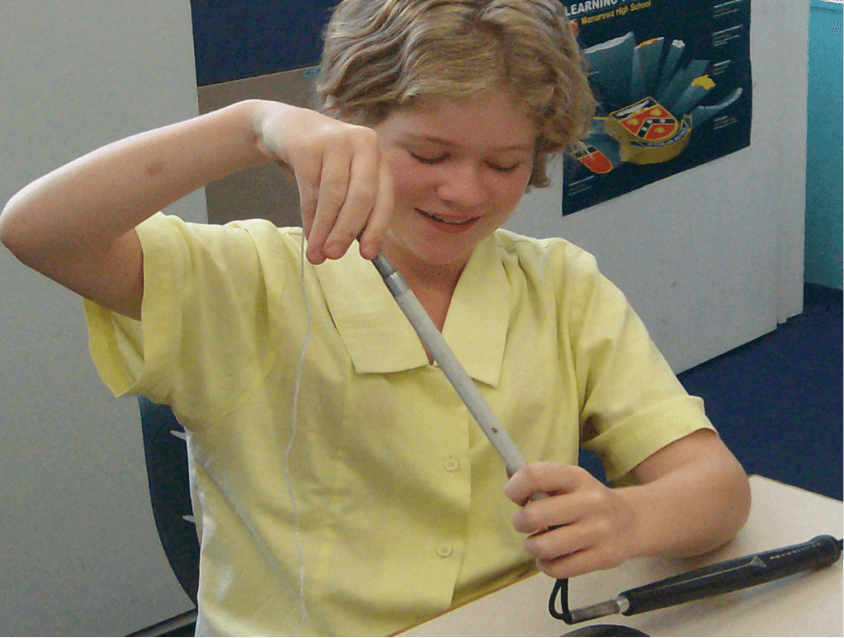
Figure 9 - Jesse has replaced the broken part of cane
Or if you shortcut like Freedom, put all the pieces together and thread!

Figure 10 - Freedom threading her cane together
The last bit has two ‘short’ ends.
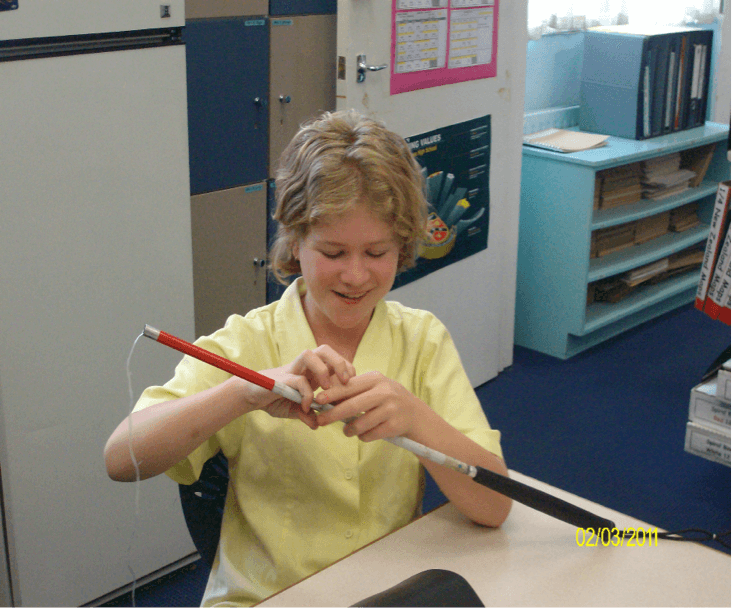
Figure 11 - Jesse is ready to reattach the original string that was attached to the cane
Step 9
Pull the elastic through the last bit of the cane using the string.
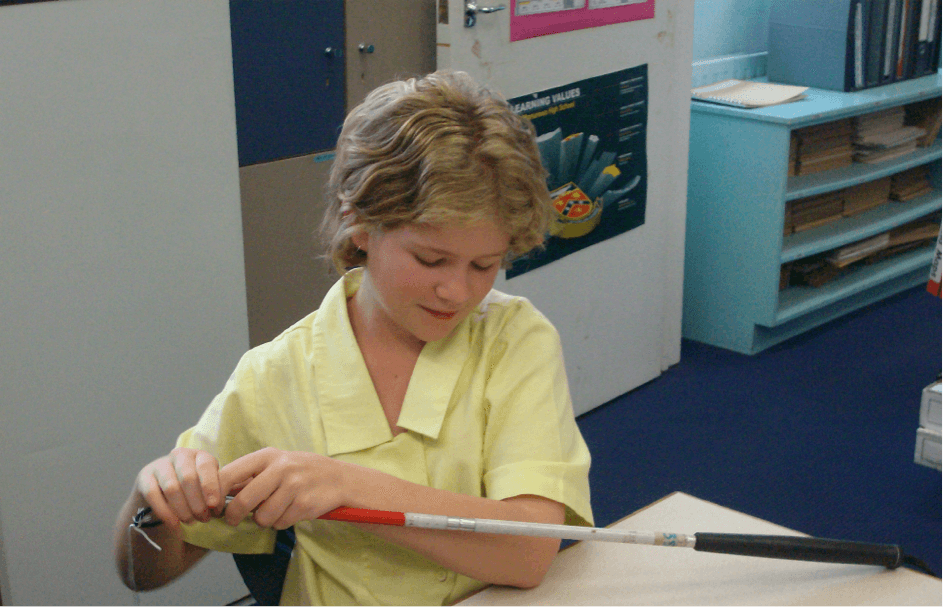
Figure 12 - Jesse pulling the cane fixing string out of the tip end
Step 10
Rethread the little metal and string through the elastic, and cut your string.
And you are done!
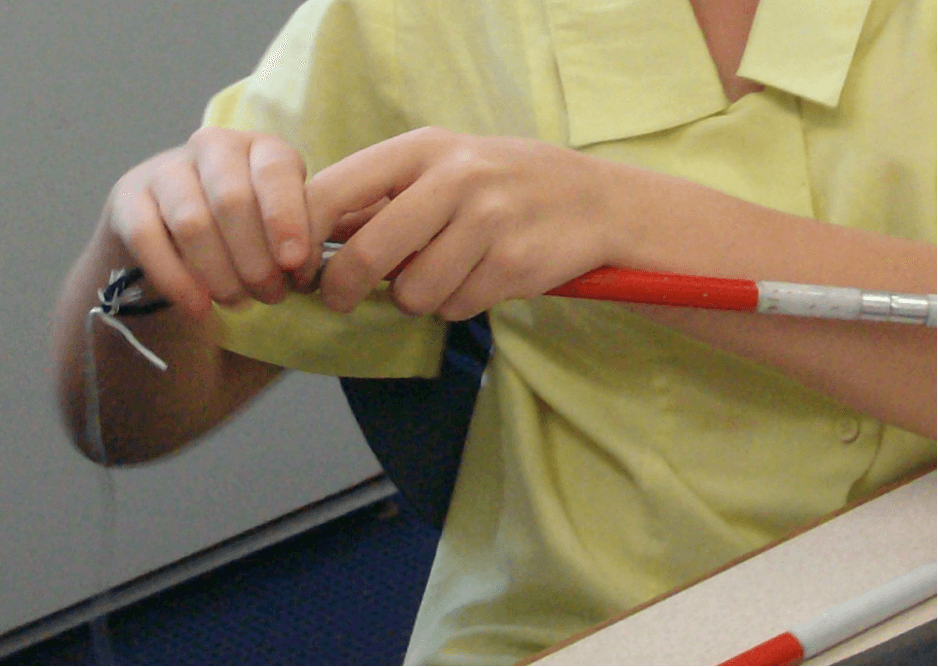
Figure 13 - Jesse is ready to cut the string off
All done!
See your O&M if you need a new cane or check with your local Resource Teacher: Vision for more information.

Figure 14 - Freedom is standing proudly with her completely fixed WCIB cane
Download this resource
This resource is available for download in both PowerPoint and Word versions.
- Document format: Fixing a cane [WORD, 5 MB]
- Presentation format: Fixing a cane [PPT, 4.7 MB]
Developed by Moving Forward Ltd and BLENNZ, 2014.