Introducing the cane
The cane can be part of an overall O&M programme.
About introducing the cane
When to introduce a cane is a family and team decision. We believe early is best, but it must be positive for the child and family.
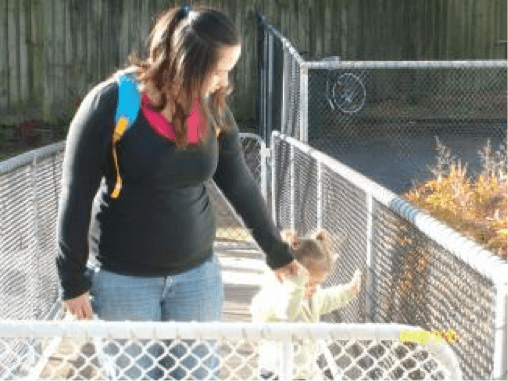
Figure 1 - Walking with mum
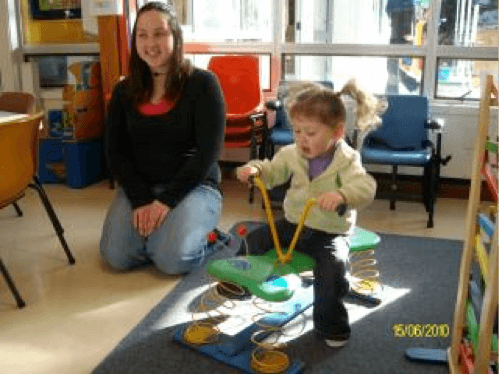
Figure 2 - Bouncing on a spring caterpillar
Take time and keep it low key!
Explore it and play with it.
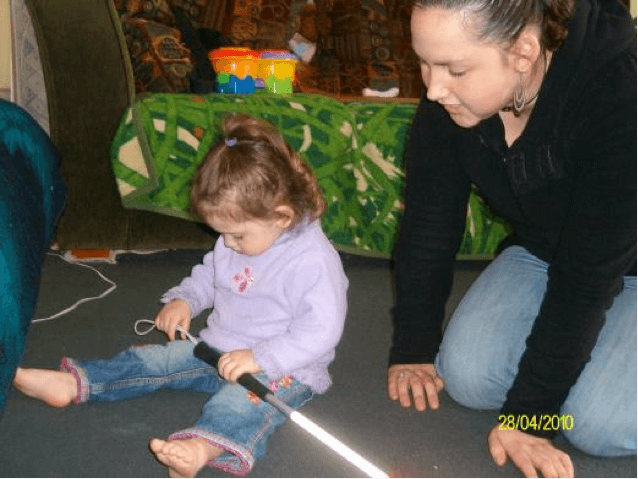
Figure 3 - Exploring the cane
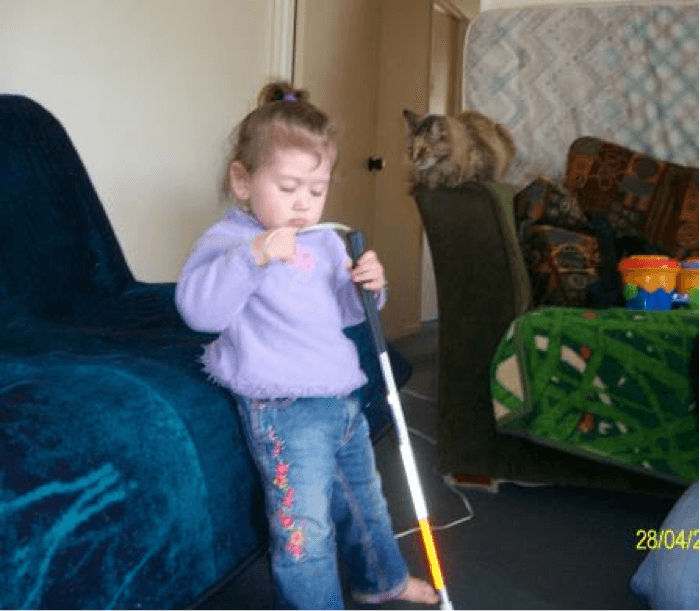
Figure 4 - Exploring the cane handle
Games
Play games and don’t worry if it isn’t used properly. It’s about making the cane a normal part of the day and routine.
- Bonk things with it,
- Tap a drum,
- Put it in the buggy.
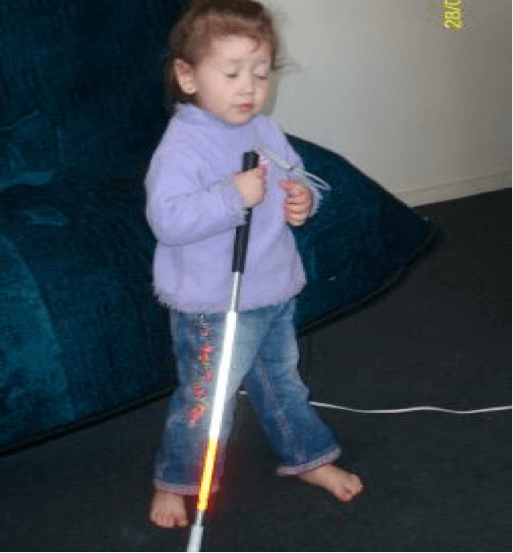
Figure 5 - Tapping the cane on the floor
Have a place to hang it
This way the child can help get it as part of the routine.

Figure 6 - A space for the cane
Personalise your cane
- You can hang a toy on it,
- Give it a name,
- Decorating it with stickers is always fun too!
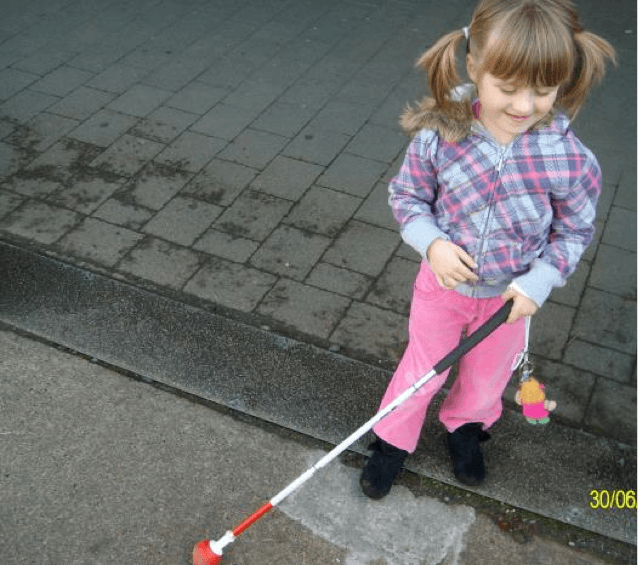
Figure 7 - A decorated cane
Techniques
Use other techniques with the cane to explore the exciting world!
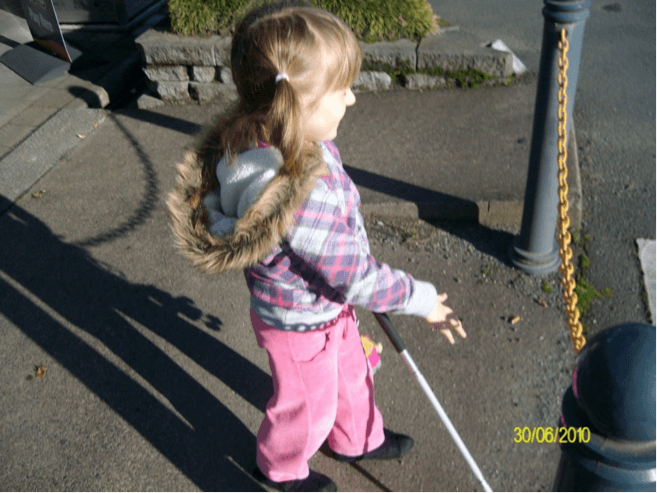
Figure 8 - Navigating the outdoor world
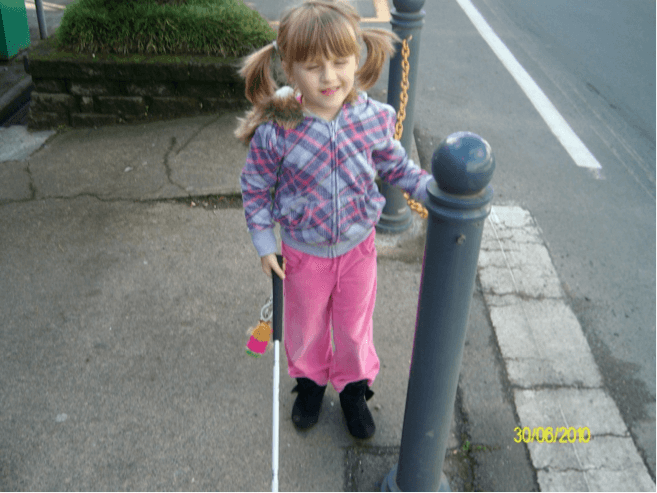
Figure 9 - Trailing while using the cane
Motivation
Have a motivating reason for using it!
Check with your local Resource Teacher: Vision for more information.
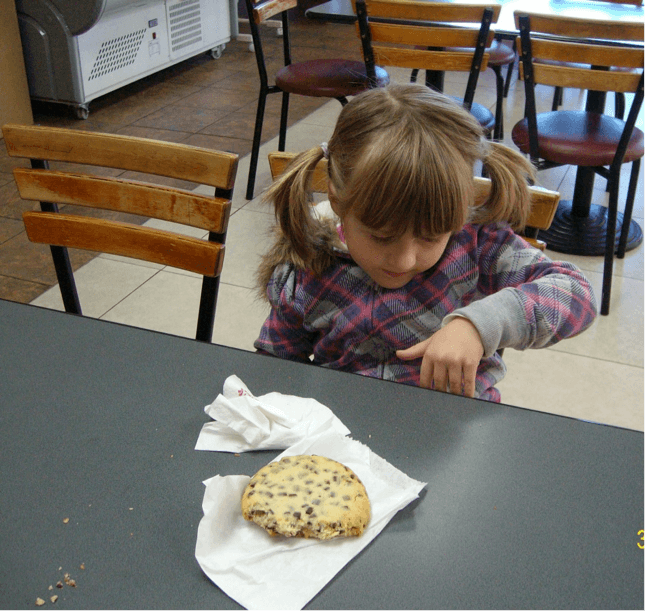
Figure 10 - Out at the mall having a snack
Download this resource
This resource is available for download in both PowerPoint and Word versions.
- Document format: Introducing the cane [WORD, 1.1 MB]
- Presentation format: Introducing the cane [PPT, 1 MB]
Developed by Moving Forward Ltd and BLENNZ, 2014.